Fun With Diffusion Models!
CS180 Project 5
Part A: The Power of Diffusion Models!
For this part of the project, I will use a pre-trained diffusion model to denoise images, generate images from pure noise, edit images, inpaint images, create visual anagrams, and make hybrid images.
A: 0. Sampling from the Model
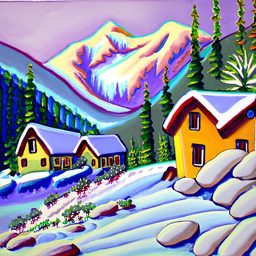
From HuggingFace, I downloaded two DeepFloyd stages. The stage1 model is used to generate 3x64x64 images from prompt embeddings. The stage2 model is used to upscale these images to be 3x256x256 using the same prompt embedding. Both stages also take in the parameter num_inference_steps, which indicates how many denoising steps to take.
As can be seen below, with 20 denoising steps, stage 1 produces a pretty good image and stage 2 adds more detail.





When I increased the number of denoising steps for stage 2 from 20 to 50, the image upscaled image has more details and looks clearer.
When I increased the number of denoising steps for stage 1 from 20 to 50, however, I didn't notice a significant difference in the generated image.
But if I decreased the number of denoising steps for stage 1 from 20 to 5, the generated image was significantly less accurate to the prompt.
A: 1.1. Implementing the Forward Process
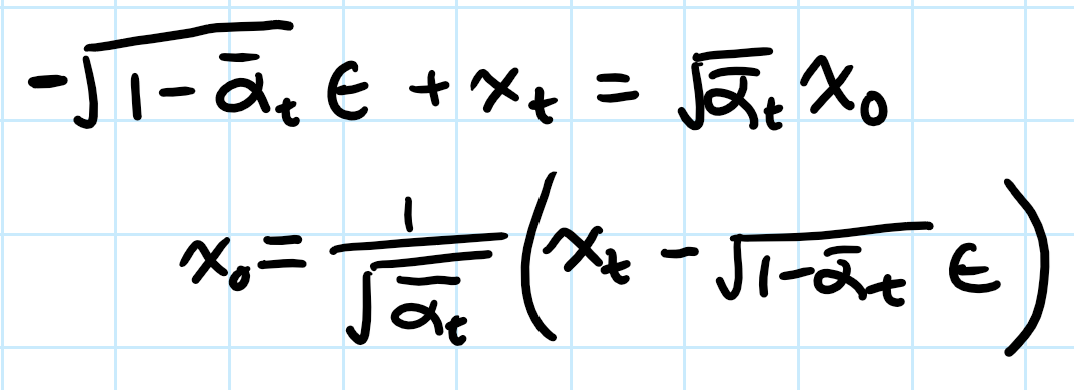
The forward process of a diffusion model is to iteratively add noise to an image. We do that by following this algorithm, where the greater t is, the greater more noise is added to the image x_t.
A: 1.2. Classical Denoising
We can try denoising the image first by using a technique from previous projects: Gaussian blurring. For each of the noisy imgs, I blur it using a Gaussian filter with kernel_size = 5 and sigma=5/6.
A: 1.3. One-Step Denoising
As seen above, the denoising done using a Gaussian Blur filter does not do a good job of removing the noise. Now let's try using the stage_1 diffusion mode. I estimate the noise in the image using the UNet, and then I use the foward process equation from above to solve for x_0 (the clean image).
Note: the prompt embeds for the diffusion model is the embedding for "a high quality photo".
A: 1.4 Iterative Denoising
To get better results for denoising an image, we can implement the iteratively denoising algorithm, where we get gradually less noisy images at each time step until we arrive at a clean image rather than predicting the clean image in one step.
Below are the iteratively denoised images at every 5th strided timestep (as the timesteps decrease, the image gets less noisy):

Noisy Campanile at t=690

Noisy Campanile at t=540

Noisy Campanile at t=390

Noisy Campanile at t=240

Noisy Campanile at t=90

Noisy Campanile at t=0 (fully denoised!)
The iterative denoising algorithm does a much better job at denoising!
A: 1.5. Extracting a Feature Descriptor
If we iteratively "denoise" an image of purse noise and use the prompt embeddings of "a high quality photo", we can generate images from scratch! The generated images are below
A: 1.6. Classifier-Free Guidance (CFG)
To improve the generated images, we can use classifier-free guidance. The only difference from iterative denoising is that the noise estimate incorporates both a conditional noise estimate (noise estimate from diffusion model using a prompt embedding i.e. "a high quality photo") and an unconditional noise estimate (noise estimate from diffusion model using the embedding for an empty string, ''). The equation for this new noise estimate is uncond_noise + gamma * (cond_noise - uncond_noise). I used a gamma of 5.
These generated images look much more realistic.
A: 1.7. Image-to-image Translation
Instead of generating images from scratch, we can add noise to an image and then denoise using cfg. This allows us to create "edits" of the images. This is the SDEdit algorithm.
Here are some examples below with various noise levels. The smaller i_start is, the more noise was added to the original image.
A: 1.7.1 Editing Hand-Drawn and Web Images
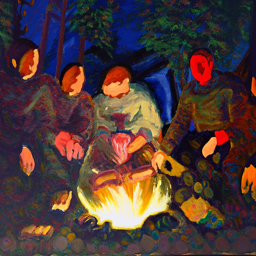
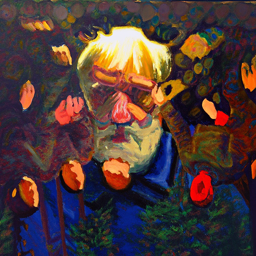
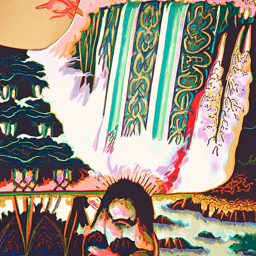
Here are some SDEdits of a web-image and some hand-drawn images!
A: 1.7.2. Inpainting
Instead of editing the entire image, we can edit just a section of it. Using a binary mask, at every time step, we set the denoised image to the original image with the appropriate noise where the mask is at 0.
A: 1.7.3 Text-Conditional Image-to-image Translation
Now I will do the same thing as SDEdit, but instead of using the prompt embedding of "a high quality photo", I instead use an embedding of "a rocket ship" to guide the model to edit the imges toward being rocket ship related.
A: 1.8 Visual Anagrams
We can generate images that look like one thing one way and another thing flipped upside down by using two prompt embeddings and tweaking the noise estimate in iterative denoising. At each time step, we can get one conditional noise estimate by passing in the current image + one prompt embedding into DeepFloyd and another conditional noise estimate by passing in the flipped current image + the other prompt embedding. We then average these noise estimates to get the new conditional noise estimate. We get the unconditional noise estimate by doing the same thing, but passing in the unconditional prompt embedding instead of one of the prompt embeddings. We can then implement cfg as usual.
Note: I upsampled these images using one of the two prompt embeddings so they are clearer.
A: 1.9. Hybrid Images
Similar to anagrams, we can generate images that look like one thing up close and another from far away. This time, I changed the noise estimate by getting the noise estimates of two prompts and low pass filtering one of them and high pass filtering the other one, and then adding the two.
Note: I also upsampled these images using on the two prompt embeddings so they are clearer.
Part B: Diffusion Models from Scratch!
For this part of the project, I will train a diffusion model from scratch, using PyTorch.
B: 1.1. Implementing the Single-Step Denoising UNet
I used PyTorch to implement the denoiser as an UNet.
B: 1.2. Using the UNet to Train a Denoiser
After implementing the UNet, I trained it on the MNIST dataset to denoise images of handwritten numbers with sigma=.5 noise added to it. This model was trained for 5 epochs.
After training for one epoch:
After training for five epochs:
Even though the UNet was only trained on denoising images with sigma=.5 noise added, let's see how it denoises images with sigma = [0.0, 0.2, 0.4, 0.6, 0.8, 1.0] of noise.
Varying levels of noise on MNIST digits:
Denoised "7" with varying levels of noise:


The more noise that was added, the worse the denoiser performs.
B: 2.1. Adding Time Conditioning to UNet
To create the diffusion mode, I added two FCBlocks (fully-connected blocks) that take in a time t variable to the architecture. This adds time conditioning to the UNet so it can be trained to iteratively denoise images instead of just denoising the image in one step. Like part A, this iterative denoising allows us to generate an image from pure noise.
B: 2.2. Training the UNet
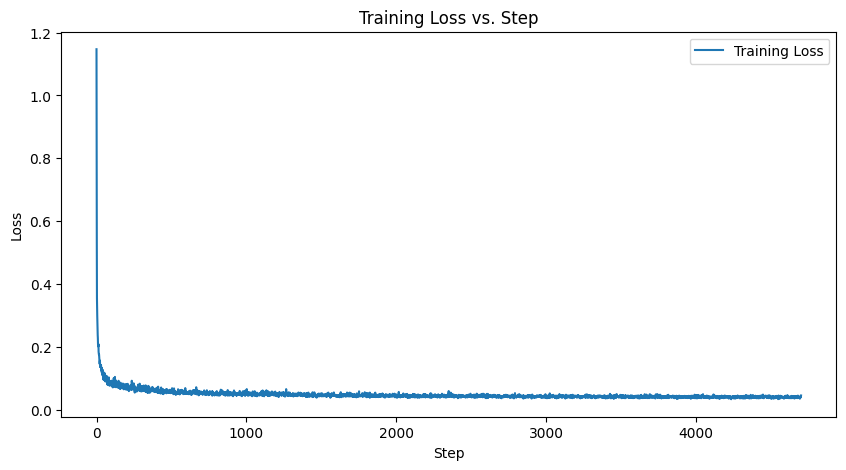
I trained this UNet to iterativel denoise by picking images from the training set, choosing a random t value, and then training the denoiser to predict the noise of the image at time t. This UNet was trained for 20 epochs.
B: 2.3. Sampling from the UNet
After this iterative denoiser is trained, I generated images of hand-written numbers from pure noise.
Here are the results after 5 and 20 epochs of training (respectively labelled 4 and 19 epochs due to 0-indexing).
The generated numbers look better after 20 epochs, but they still don't look realistic.
B: 2.4. Adding Class Conditioning to UNet
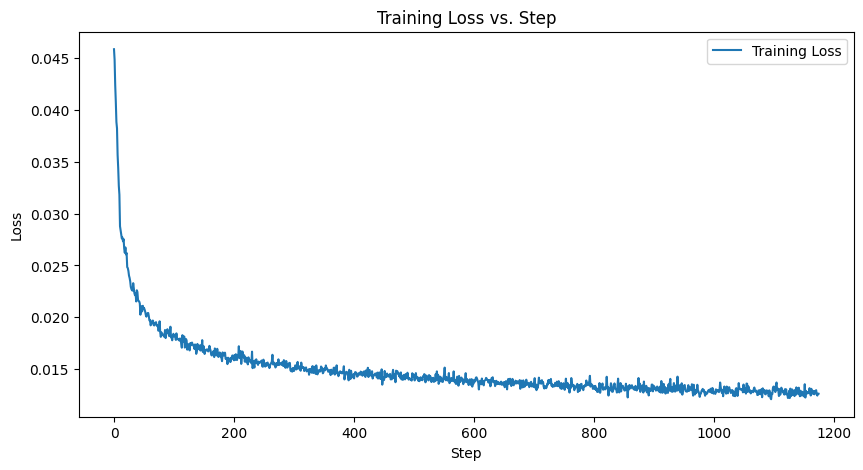
In order to generate better results and to be able to guide the UNet to generate specific numbers, I added class conditioning to the UNet. This just involves adding two more FCBlocks to the UNet, but with the input being c, a one-hot encoded vector of a digit (0-9). When training, however, c was set to 0 at a rate of .1 so the model can still generate numbers without a class being specified.
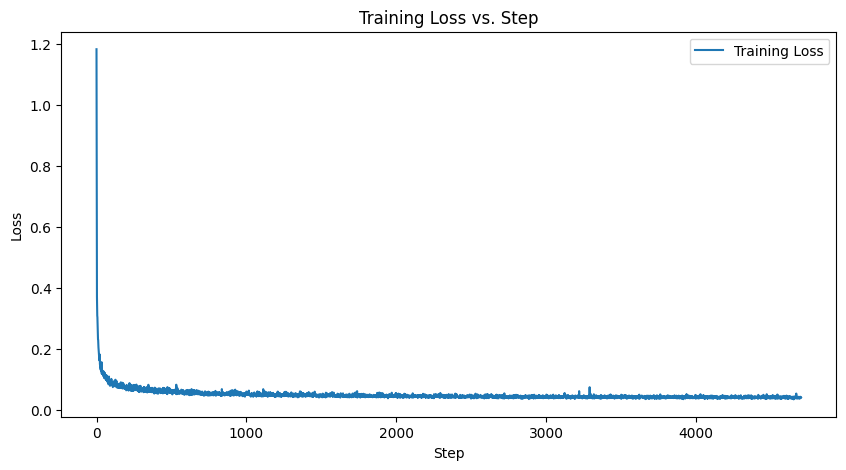
Training Loss
B: 2.5. Sampling from the Class-Conditioned UNet
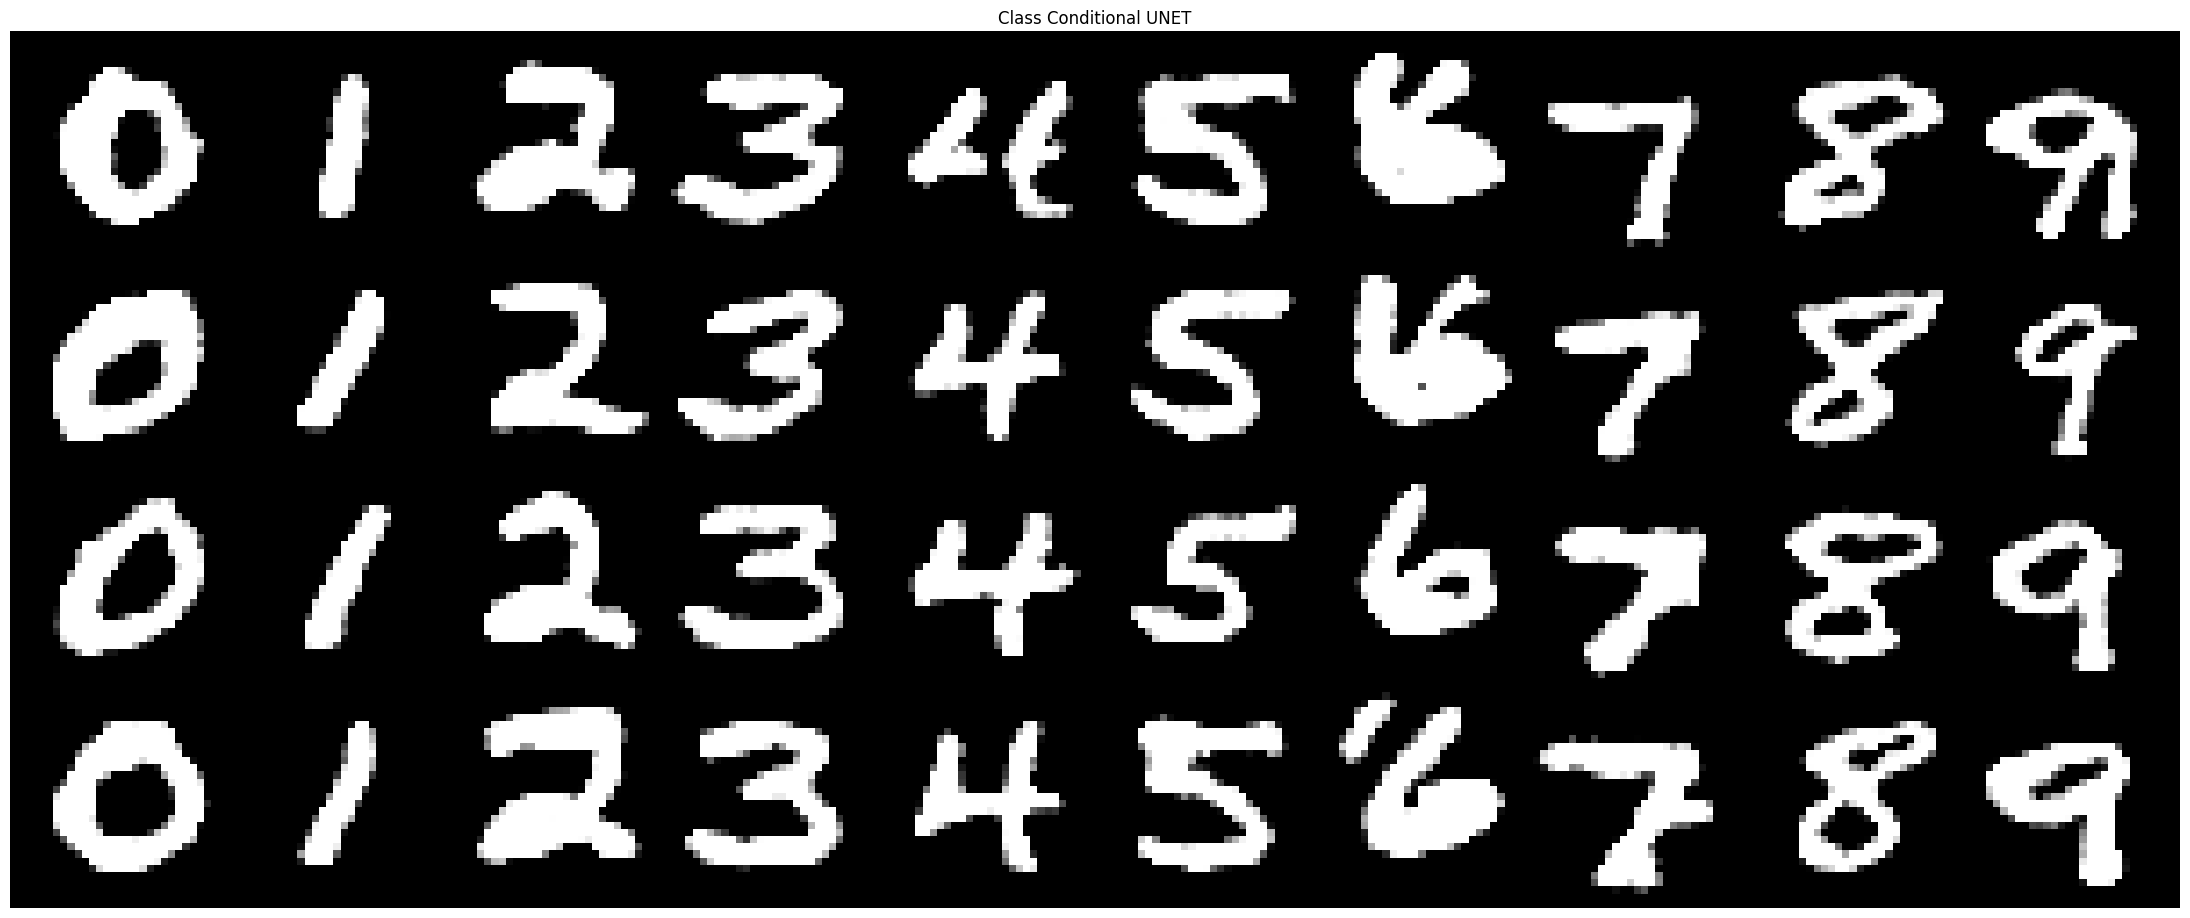
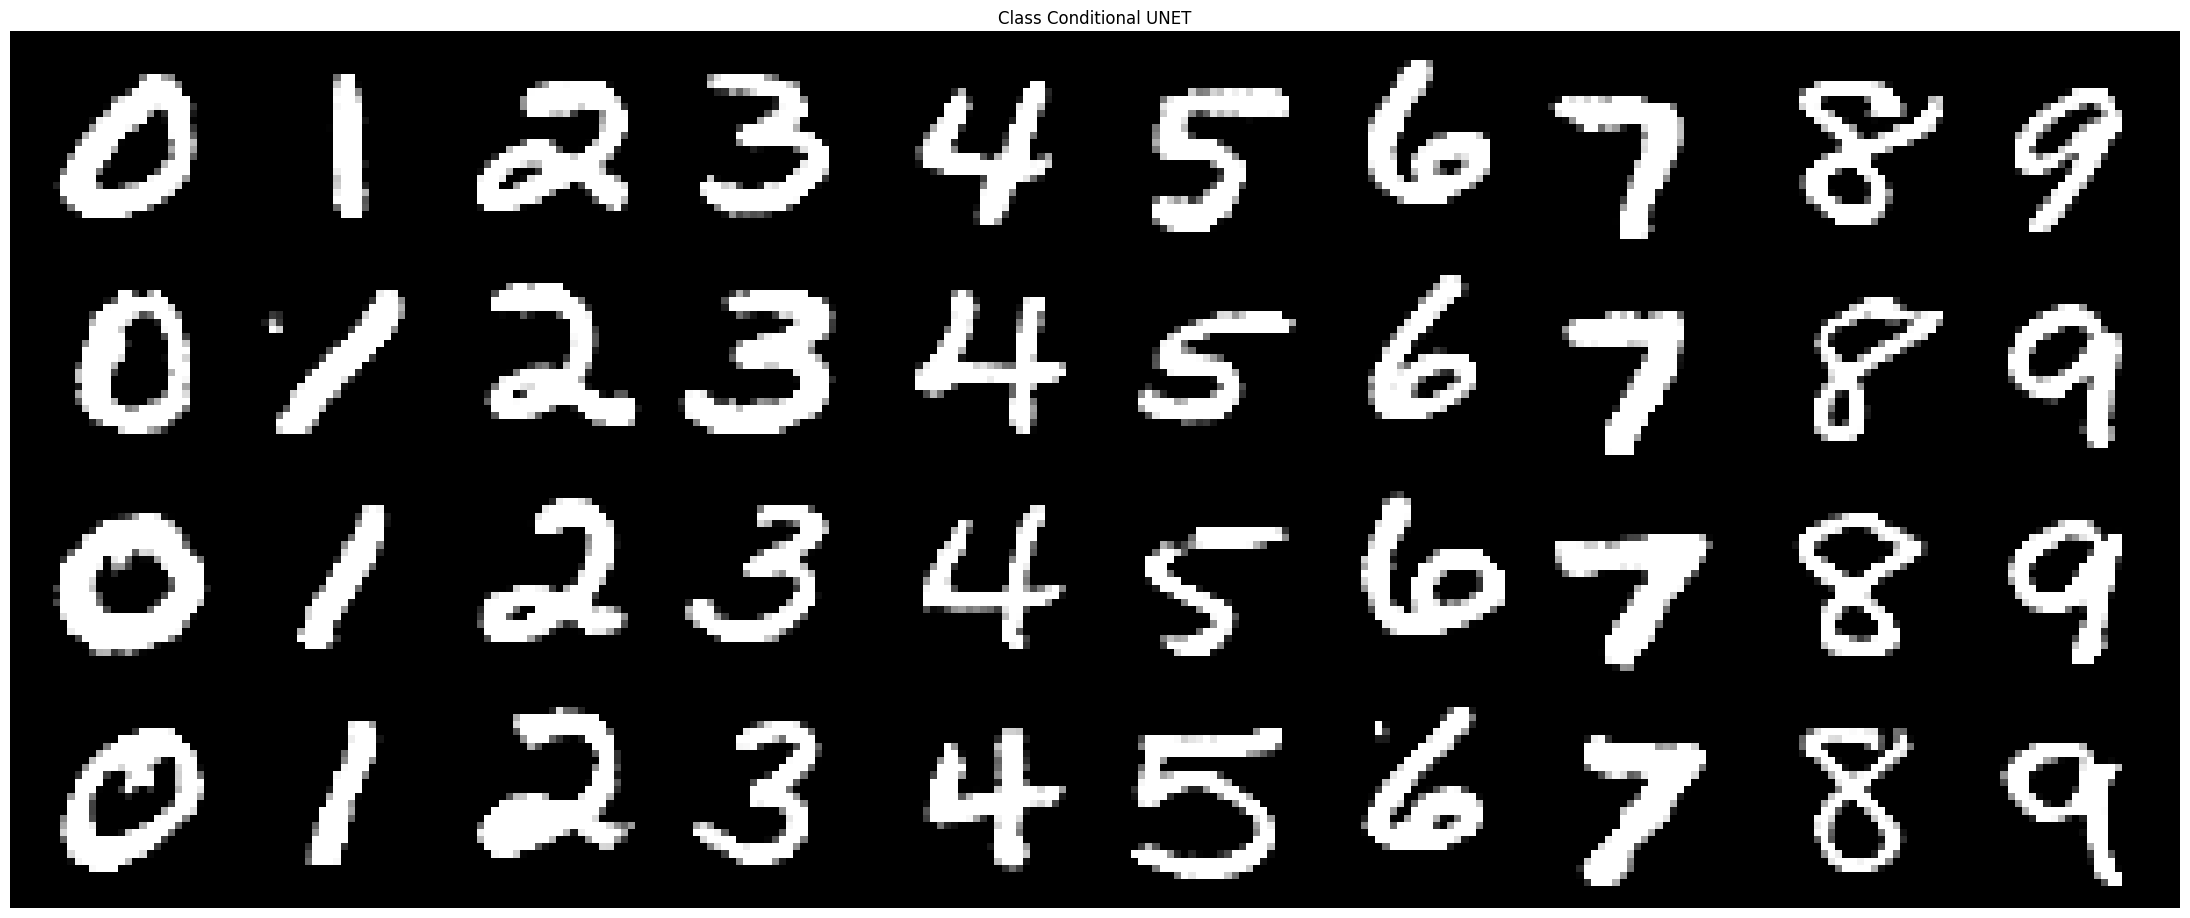
I sampled 4 instances of the 10 digits after 5 epochs and 20 epochs of training:
.png)

.png)

.png)


